Showing posts with label Auctions. Show all posts

Monday, February 21, 2011

Auctions Make My Heart Melt

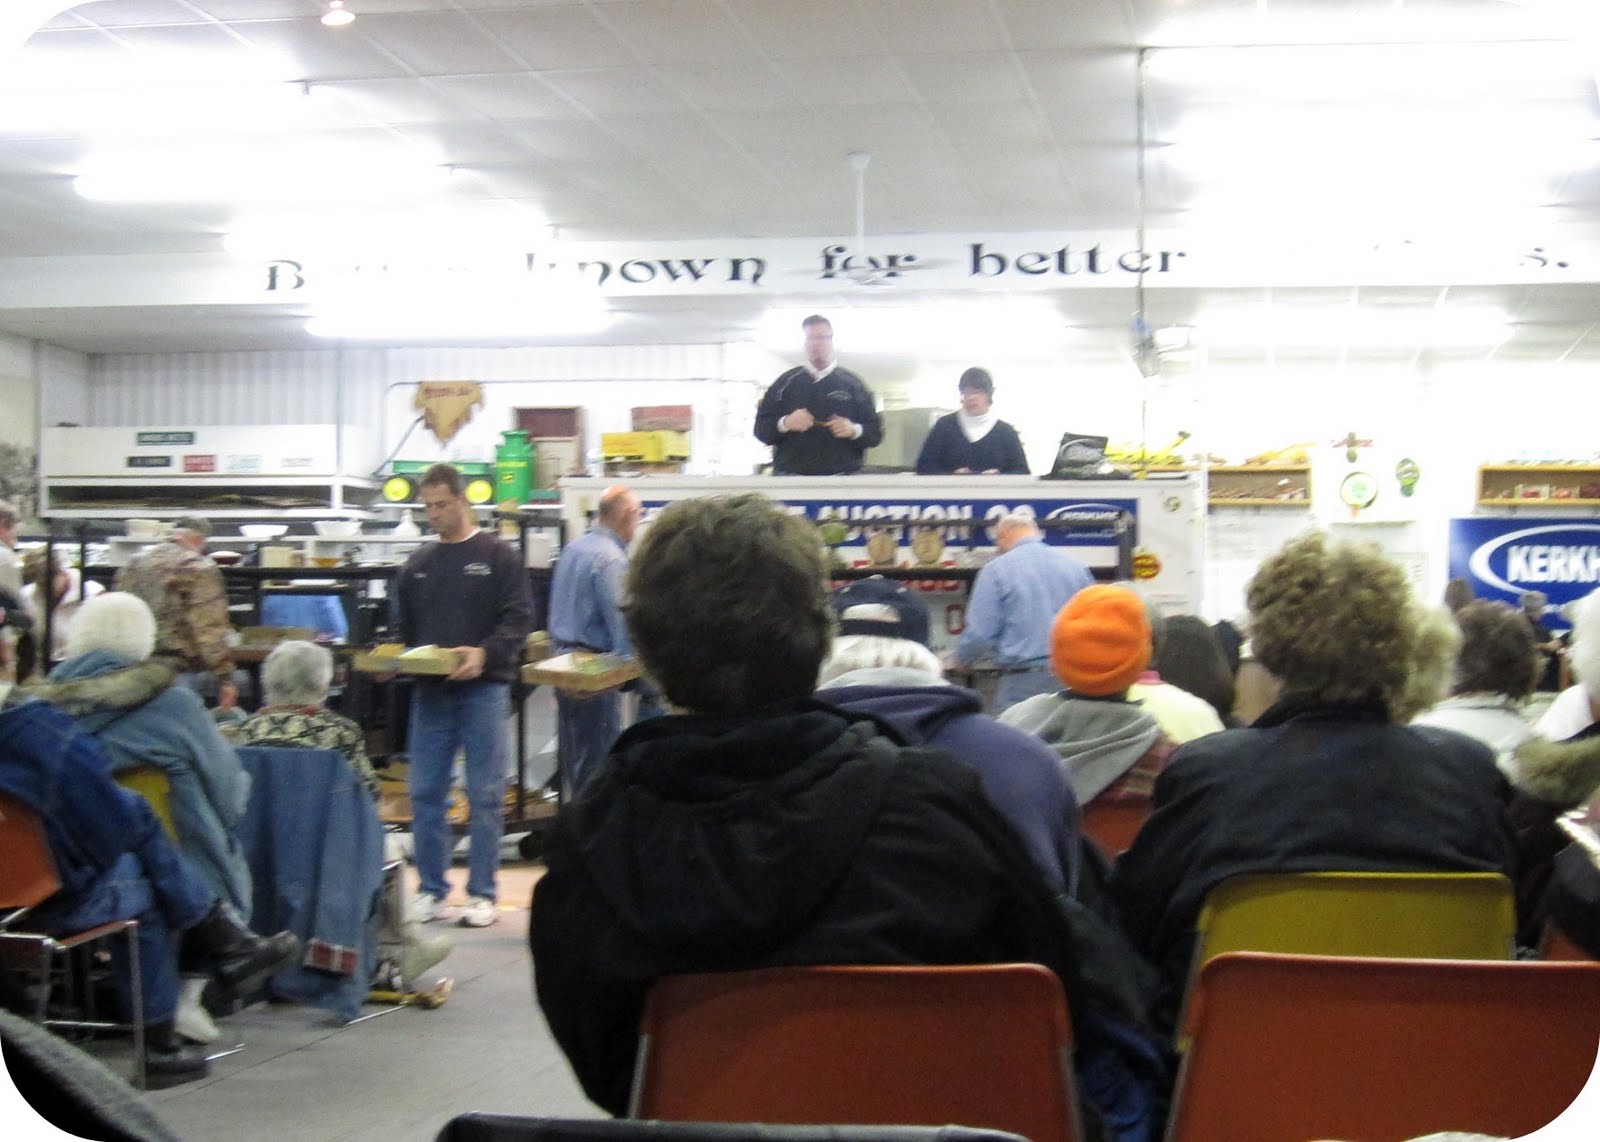
Last month, I brought Tiana to her first auction!
-
-
It was freezing cold and the windy was crazy, but that wasn't going to stop us!
-
-
Going to an auction is so exciting for me! Just looking around and the thrill of the nod... makes my heart swell. Giving old ladies "the look" so that we walk away with what we are hoping for.
-
-
It's just exciting. You have to work on your poker face and keep your excitement hidden. There are carts everywhere full of boxes hiding goodies. But most of all, this time I got to experience it with Tiana and teach her all about it.
-
-
Rule number one - set a limit. Know what you are willing to pay for an item and stick to it! Also got to teach her all the lingo, including "bidder's choice" and "one money."
-
-
Thanks for tagging along munchkin! Love the cedar chest we scored!

Friday, November 5, 2010

The Big Picture

So all of this week's little projects, were part of my "big picture". For years Chris and I have had what I dubbed the "college" bedroom. You know, basic bed and makeshift nightstands... It was definitely time for a change!
-
-
So here are the before pictures, pretty boring I'd say!
-
-
My nightstand was a disaster area, enough said...
-
-
The hubby's nightstand was my leftover tool cabinet, that really only held his wedding ring and an occasional cellphone at night...
-
-
The hardwood floor (identical throughout the house), is gorgeous, but chilly in the morning...
-
-
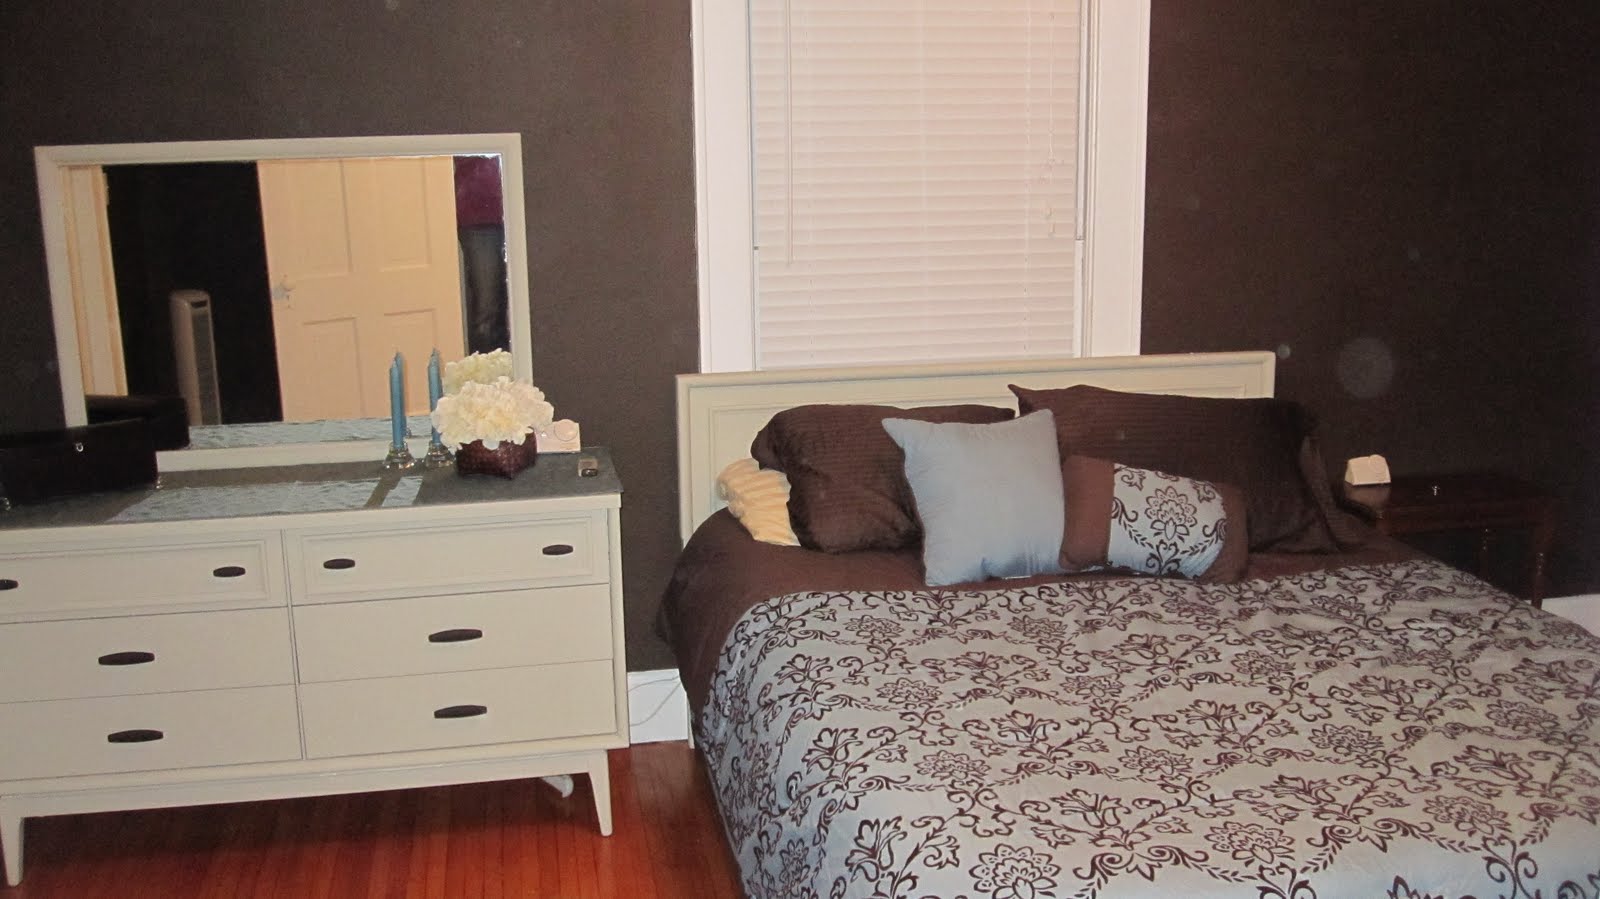
Here is the final product (sorry the camera seems to be dirty)! Ta Da! A "Grown-Up" bedroom! Here you can see our new comforter, purchased with a Target gift card from the wedding (thanks Jennifer!) and my new dresser/mirror/headboard! I am loving that my pillows no longer fall down into the window, yay for headboards!
-
-
I had some canvas prints sitting in a closet downstairs, so they emerged and made it to the bedroom wall...
-
-
Here is the hubby's new nightstand... I actually purchased this at an auction this summer also. No need to refinish, because I think it is perfect the way it is! And the gorgeous wire basket just tops it off! (Oh and the little white box on top is the controller for his side of the heated mattress pad, figured it was about time to pull it out of storage and get that puppy warmed up!)
-
-
A shot of the finished dresser from yesterday's post and a rug that was given to me as a shower gift (thanks Beth!), love it! The "H" frame from Tuesday's post is actually on the wall to the left, didn't realize I cute it out of the picture, sorry.
-
-
Lastly, a couple more decorations. Candlesticks from Ikea $0.50 each, candles from Walmart $0.89 each. Basket was already owned and the silk hydrangeas are from the wedding. Oh and the blue clothe on top of the dresser I dug out of a drawer downstairs, so I quickly stiched up the edges and threw it on! Hope you enjoyed this week, I am excited to be working on some more projects this weekend so I better get cracking! Happy Friday!
-
Bedroom Project Breakdown:
Dresser/Mirror/Headboard - $11.33
Comforter - Gift
Canvas Prints - Had on Hand
Hubby's Nightstand - $2.00
Wirebasket/Filling - $0.75
Rug - Gift
"H" Frame - $3.57 (to make the one)
Candles/Sticks - $2.78
Basket/Flowers - Had on Hand
Blue Fabric - Had on Hand
Project Total - $20.43

Thursday, November 4, 2010

Back At It

Okay, Wednesday's post didn't happen... oh well, I try the best I can, Wednesdays just seem to be hard for me cause there are so many important things to do... like watching Survivor (that darn Naonka needs to go home).
-
Anywho, back to project week. I am very excited about this one! Last summer I went to an auction and scored this beauty below for $6!
-
-
When getting ready to leave, we went to put this in the truck and found out that not only did I buy a dresser, but it came with a mirror and a headboard, it was a little bonus that I had not known. So we threw it all in the truck and headed home.
-
-
So, Chris helped me unload this find in the garage and that is where it has sat since last June. I would occasionally stand over it, head tilting side-to-side to figure out what I was going to do with it... we needed a dresser... and because I am cheap, scratch that, "frugal" this is the one we will use, just what to do to it... I began scouring the internet for ideas and tips on how to paint laminate.
-
The wedding took place on September 18, and the following weekend I got down and dirty with this 70's charmer.
-
-
Started off with taping off the mirror, plenty wide cause I am not the neatest painter...
-
-
Then came the primer. I used Zinnser's oil based primer, I love using this primer because it requires no sanding! That's right, you heard me, NO SANDING! That is the one part about painting projects that I despise... So for this project, I applied two coats of primer. This primer also dries in two hours, so I was able to do both coats the same evening. Just remember that it is oil based, so you will need paint thinner to remove it off of anything... hands... brushes... husband's shoes... whoops!
-
-
After the primer came the paint! I chose Dutch Boy's Colonial Cobblestone. And, I only bought the sample size can... no need to buy a gallon, when I only used 1/2 of the quart size sample!
-
-
I applied three coats two each piece of the set and loved the result!
-
-
I debated buying new hardware, but decided I sort of liked the original, they just needed a new coat of paint, so I dug around and found a brown. It was actually Krylon's Camouflage Paint, it worked out beautifully!
-
-
Here is a sneak peak of the finished result... I will be back to combine this week of projects into one big project tomorrow! See you then!
-
Dresser Project Breakdown:
Dresser/Mirror/Headboard - $6.00
Zinnser Primer - Had on hand
Dutch Boy Sample - $5.33
Krylon Camouflage - Had on hand
Project Total - $11.33